The Northern Lights are one of nature’s most spectacular displays, but capturing their magic in a photograph takes preparation and patience. This guide covers techniques for dedicated cameras and smartphones alike.
One thing worth knowing upfront: cameras are far more sensitive to light than the human eye. You’ll often capture more vivid colours and detail in your photos than you saw in person - especially during weaker displays. Don’t be disappointed if the aurora looks faint to your eyes; check your camera and you may be surprised.
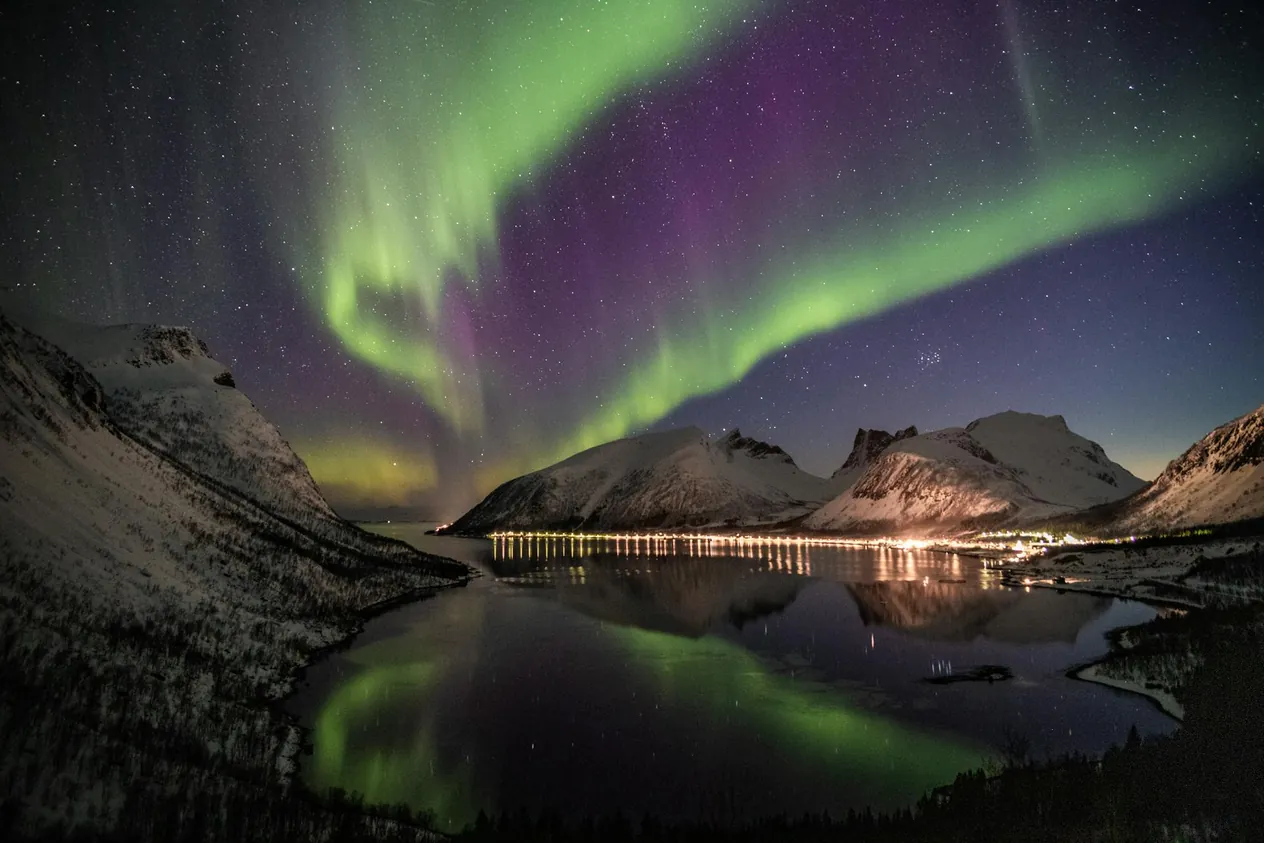
Credit: Tobias Bjørkli
Essential Equipment
You don’t need the most expensive gear to photograph the aurora, but certain items will make a significant difference to your results.
- Camera: Any camera with manual mode (M) will work. A full-frame sensor performs best in low light, but crop-sensor cameras and even some compact cameras can produce great results.
- Wide-angle lens: A lens with a focal length of 14-24mm lets you capture sweeping auroral displays and include foreground interest. A fast aperture of f/2.8 or wider is ideal for gathering maximum light.
- Sturdy tripod: Essential. You’ll be using long exposures, so any movement will ruin the shot. Choose one that’s stable in wind and won’t vibrate on uneven ground.
- Remote shutter release or timer: Pressing the shutter button can introduce camera shake. Use a remote release, cable release or your camera’s built-in 2-second timer.
- Spare batteries: Cold temperatures drain batteries rapidly. Keep spares in an inside pocket close to your body to keep them warm, and swap them when power drops.
- Head torch with red light mode: A red light preserves your night vision while letting you adjust settings and navigate in the dark.
- Lens cloth: Condensation and frost can form on your lens quickly. Check and wipe regularly.
Camera Settings
Aurora photography requires a balance between capturing enough light and keeping the image sharp. Here are the key settings to start with:
Aperture
Open your lens as wide as it will go - f/2.8 or wider is ideal. If your lens only opens to f/3.5 or f/4, you can compensate with a longer exposure or higher ISO, but you’ll lose some detail in faster-moving aurora.
ISO
Start at ISO 1600 and adjust from there. For bright, active displays you can drop to ISO 800. For faint aurora, you may need to push to ISO 3200 or even 6400, though higher ISO introduces more noise.
Shutter Speed
This depends on how active the aurora is:
- Fast-moving, dancing aurora: 3 to 8 seconds to preserve structure and detail in the curtains
- Slow, diffuse aurora: 10 to 20 seconds to gather more light
- Very faint aurora: up to 25 seconds, though stars will begin to trail
If you expose too long on an active display, the aurora will blur into a featureless green smear. Start short and lengthen if needed.
Focus
Autofocus won’t work reliably in the dark. Switch your lens to manual focus and focus on a bright star or distant light. Use your camera’s live view zoomed in to 10x to nail the focus precisely.
Once focused, don’t touch the focus ring. Some photographers tape it in place. Check focus periodically throughout the night, temperature changes can cause slight shifts.
Quick-Start Settings
If the aurora appears and you need to start shooting immediately, try these as a starting point:
- Mode: Manual (M)
- Aperture: f/2.8
- ISO: 1600
- Shutter speed: 8 seconds
- Focus: Manual, set to infinity
- White balance: Auto or ~3500K
- Format: RAW
Review your first shot and adjust from there. If it’s too dark, increase ISO or exposure time. If the aurora is blurred, shorten the exposure.
Composition
The best aurora images include compelling foreground elements that give a sense of place and scale.
- Foreground interest: Look for trees, mountains, cabins, boats, churches or reflections in water. These elements anchor the image and tell a story.
- Leading lines: Roads, rivers, fences or shorelines can draw the viewer’s eye into the frame and up towards the aurora.
- Reflections: Still water can double the impact of your image. Lakes, fjords and even puddles create beautiful mirror effects.
- Human elements: A silhouette of a person watching the aurora adds emotion and scale. Use a head torch briefly to illuminate yourself during a long exposure.
- Framing: Don’t always centre the aurora. Try placing the horizon in the lower third with the aurora filling the upper portion of the frame.
Scout your location during daylight if possible. Know where the aurora is likely to appear (typically to the north if you’re below the aurora oval) and plan compositions in advance.
Shooting with a Smartphone
Modern smartphones have become surprisingly capable aurora cameras. If you have a recent iPhone (12 or later) or a flagship Android device, you can capture the Northern Lights with the right technique.
- Use Night Mode: Most modern phones have a dedicated night or astrophotography mode that takes long exposures automatically.
- Stabilise your phone: A phone tripod mount or even propping your phone against a solid surface is essential. Handheld shots will be blurry.
- Clean the lens: Phone lenses pick up fingerprints easily, which creates flare and softness.
- Use a timer: Set a 3-second timer to avoid shake when tapping the shutter button.
- Manual camera apps: Apps like ProCam, NightCap or Halide give you manual control over ISO and shutter speed for better results.
Phone photos won’t match the quality of a dedicated camera, but they can still produce impressive results - especially during strong displays. They’re also great for quick video clips to share the experience in real time.
Time-lapse Photography
A time-lapse video brings the aurora to life, showing its movement and evolution in a way that still photos can’t. To create one:
- Set your camera to take continuous shots using an intervalometer (built-in on many cameras, or use a remote with interval function).
- Set an interval of 8-15 seconds between shots, matching your exposure time.
- Ensure your battery is fully charged, a time-lapse can run for hours.
- Keep your settings consistent throughout the sequence for smooth playback.
- Compile the images into video using software like LRTimelapse, Final Cut Pro, or DaVinci Resolve. 24-30 frames per second works well.
A 2-hour shooting session at 10-second intervals will give you around 720 frames - roughly 24 seconds of video at 30fps. Plan for longer sessions if you want a substantial clip.
Post-Processing Tips
Shooting in RAW format gives you far more flexibility in editing. Here are some key adjustments to consider:
- White balance: Adjust to taste. Cooler tones (around 3200-3800K) often produce more natural-looking aurora greens.
- Noise reduction: Apply carefully. Too much noise reduction will smear fine detail in the aurora and stars.
- Contrast and clarity: A slight boost can help the aurora stand out from the sky background.
- Saturation: Be restrained. It’s tempting to push colours, but over-saturated aurora photos look unnatural. Aim for what you saw, not a neon fantasy.
- Lens corrections: Apply profile corrections to fix distortion and vignetting from wide-angle lenses.
- Crop and straighten: Check your horizon is level. A tilted horizon is distracting in landscape photography.
Software like Adobe Lightroom, Capture One, or the free alternatives Darktable and RawTherapee all handle aurora images well.
Common Mistakes to Avoid
- Forgetting to check focus: Out-of-focus aurora shots can’t be saved in post. Check regularly.
- Over-exposing: Long exposures on bright aurora wash out detail and structure. If in doubt, underexpose slightly - you can recover shadows in RAW.
- Ignoring the foreground: A photo of green sky with no context is forgettable. Always include something to ground the image.
- Not dressing warmly enough: You’ll be standing still in sub-zero temperatures for hours. Cold hands make it difficult to operate controls. Bring hand warmers and touchscreen-compatible gloves.
- Chimping too much: Constantly reviewing photos on your LCD can distract you from the show. Take a few shots, check exposure is correct, then enjoy the moment.
- Using flash or bright lights: This ruins night vision for you and everyone around you. Use red light only.
Protecting Your Gear in the Cold
Arctic temperatures are harsh on camera equipment. A few precautions will keep everything working:
- Condensation: When bringing cold gear back indoors, seal it in a plastic bag first. This allows condensation to form on the bag rather than on your lens and sensor. Leave it sealed for 30-60 minutes until it reaches room temperature.
- Battery life: Expect batteries to last 50-70% of their normal capacity in freezing conditions. Carry at least two spares.
- Touchscreens: Many touchscreens become sluggish or unresponsive in extreme cold. Learn to navigate your camera’s menus using buttons alone.
- Tripod legs: Metal tripod legs become painfully cold to handle. Wrap the upper leg sections in foam grip tape, or wear gloves when adjusting.
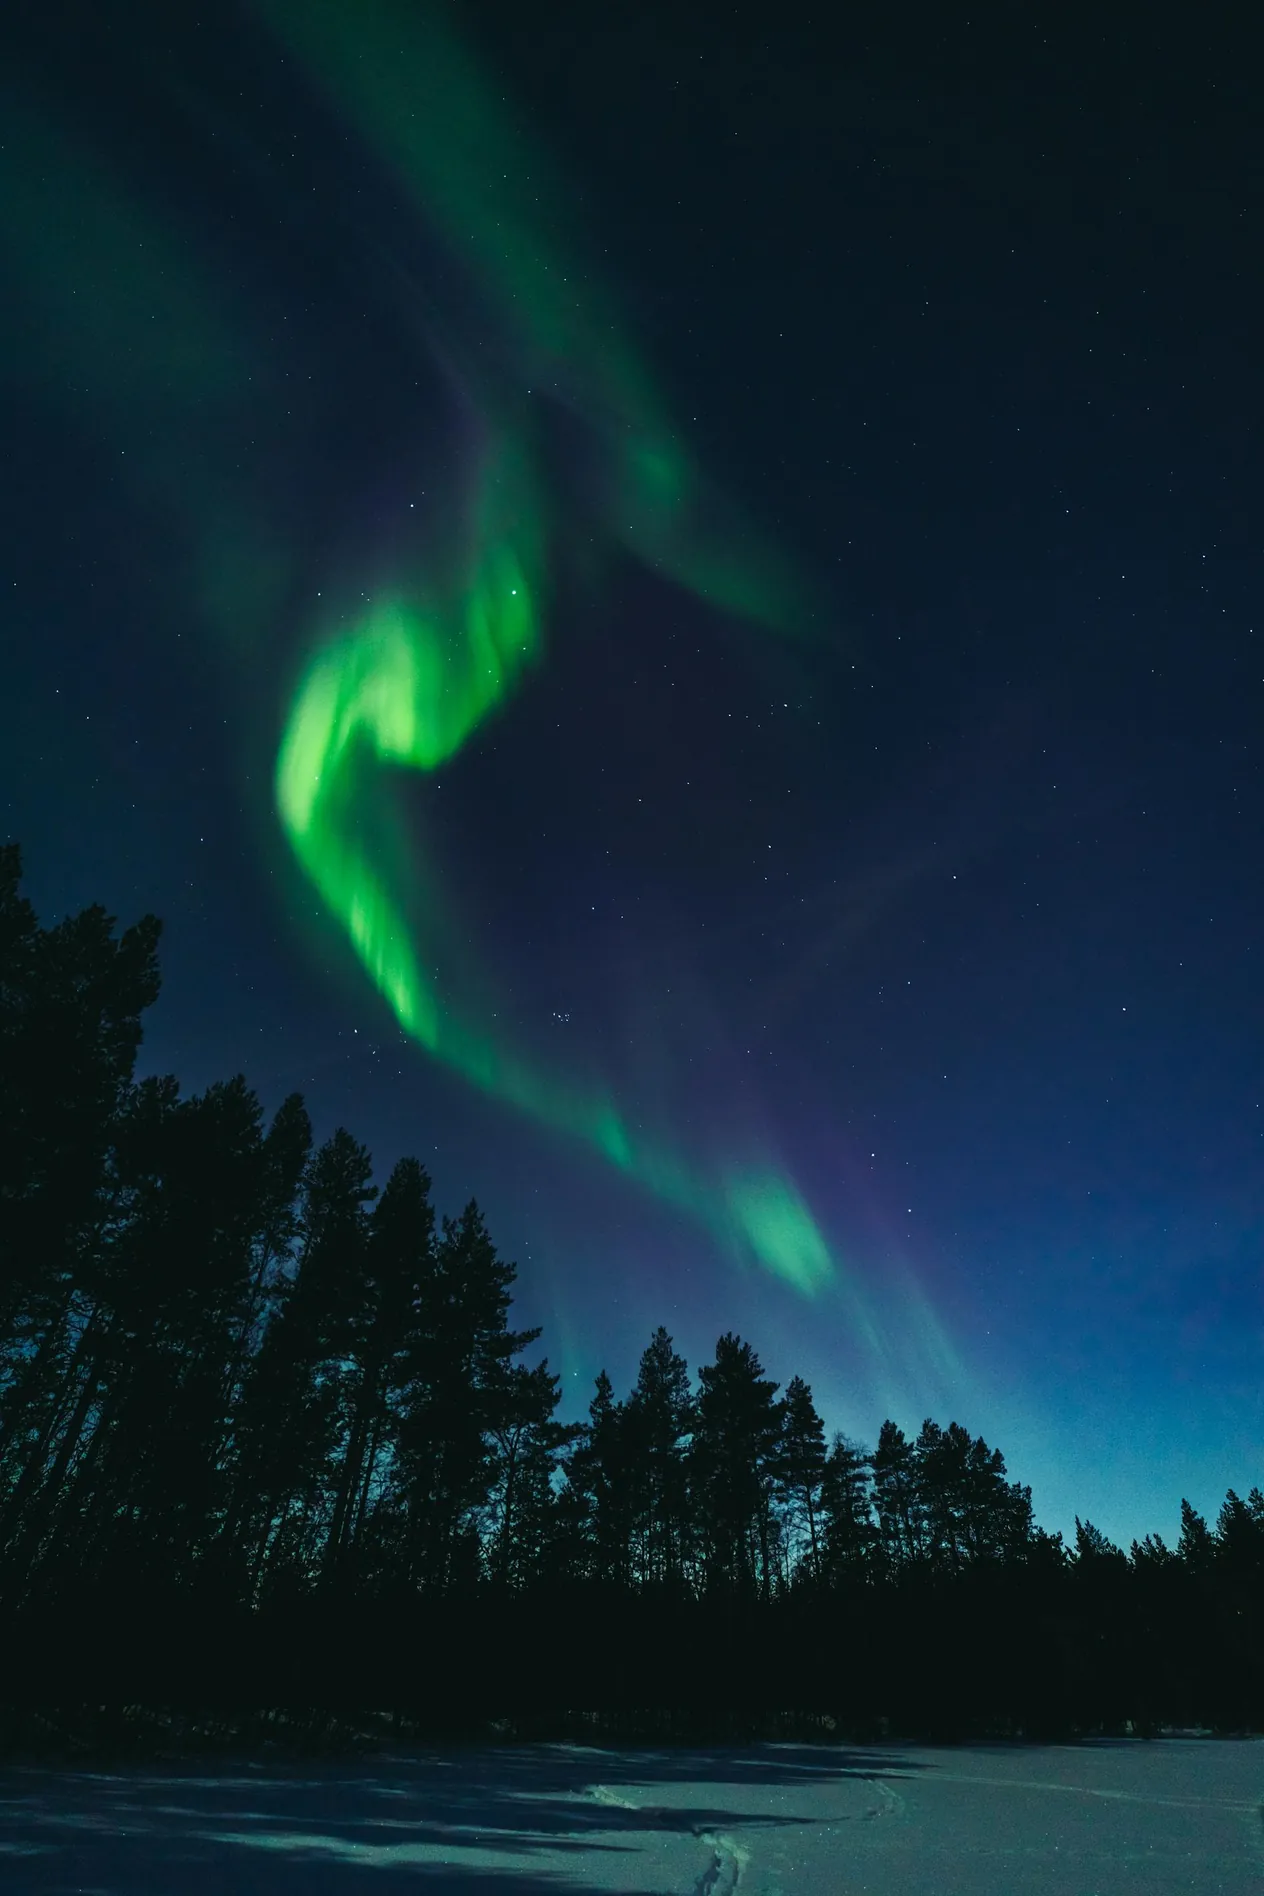
Credit: Joni Tuohimaa
Planning Your Shoot
Preparation makes the difference between a successful night and a frustrating one. Before heading out:
- Check the aurora forecast: Monitor the Kp-index, solar wind speed and Bz direction for likely activity.
- Check cloud cover: Use local weather services or apps like Windy to find clear skies. Be prepared to drive to escape cloud.
- Scout locations in daylight: Find compositions, check for obstacles and note safe parking and walking routes.
- Check moonrise and moonset times: A bright moon can wash out faint aurora, but a quarter moon can beautifully illuminate foreground landscapes.
- Charge everything: Batteries, phone, head torch. Leave nothing to chance.
- Tell someone where you’re going: If heading to remote locations at night, let someone know your plans.
Above all, remember to put the camera down occasionally and simply watch. No photograph can fully capture the experience of standing under an active auroral display. The memories you make with your own eyes are just as valuable as the images on your memory card